My Toyota Sienna Camper Conversion Journey
When you think of me, you probably picture me in front of an iPad, designing patterns, or teaching a Procreate class. But recently, I took on a new project that’s a little different from my usual creative work: I’ve converted my trusty Toyota Sienna into a camper! Let me tell you, it’s been quite the adventure, and the journey has just as many twists and turns as any creative process. So, buckle up as I share the highs, the lows, and the surprising lessons I’ve learned while turning my minivan into a cozy, functional adventure mobile—plus some videos of the process!
A Quick Note on Affiliate Links:As always, everything I share here has passed my LOVE IT test—I wouldn’t recommend anything I didn’t fully believe in! Some of the links in this post are Amazon affiliate links, which means I may earn a small commission if you make a purchase (at no extra cost to you!). Thanks for helping me fuel my next DIY adventure with a cozy cup of coffee at my favorite local spot!From Family Hauler to Adventure Mobile
Who doesn’t love a good transformation? My Toyota Sienna minivan, once used for school drop-offs and grocery hauls, is now on its way to becoming a camper that my husband and I can use for river getaways and road trips. The process kicked off on a beautiful day here in Manzanita. With the kids back in school, I got straight to work dismantling the van. Seats out, seatbelts cut—this thing was not going back to regular family use!
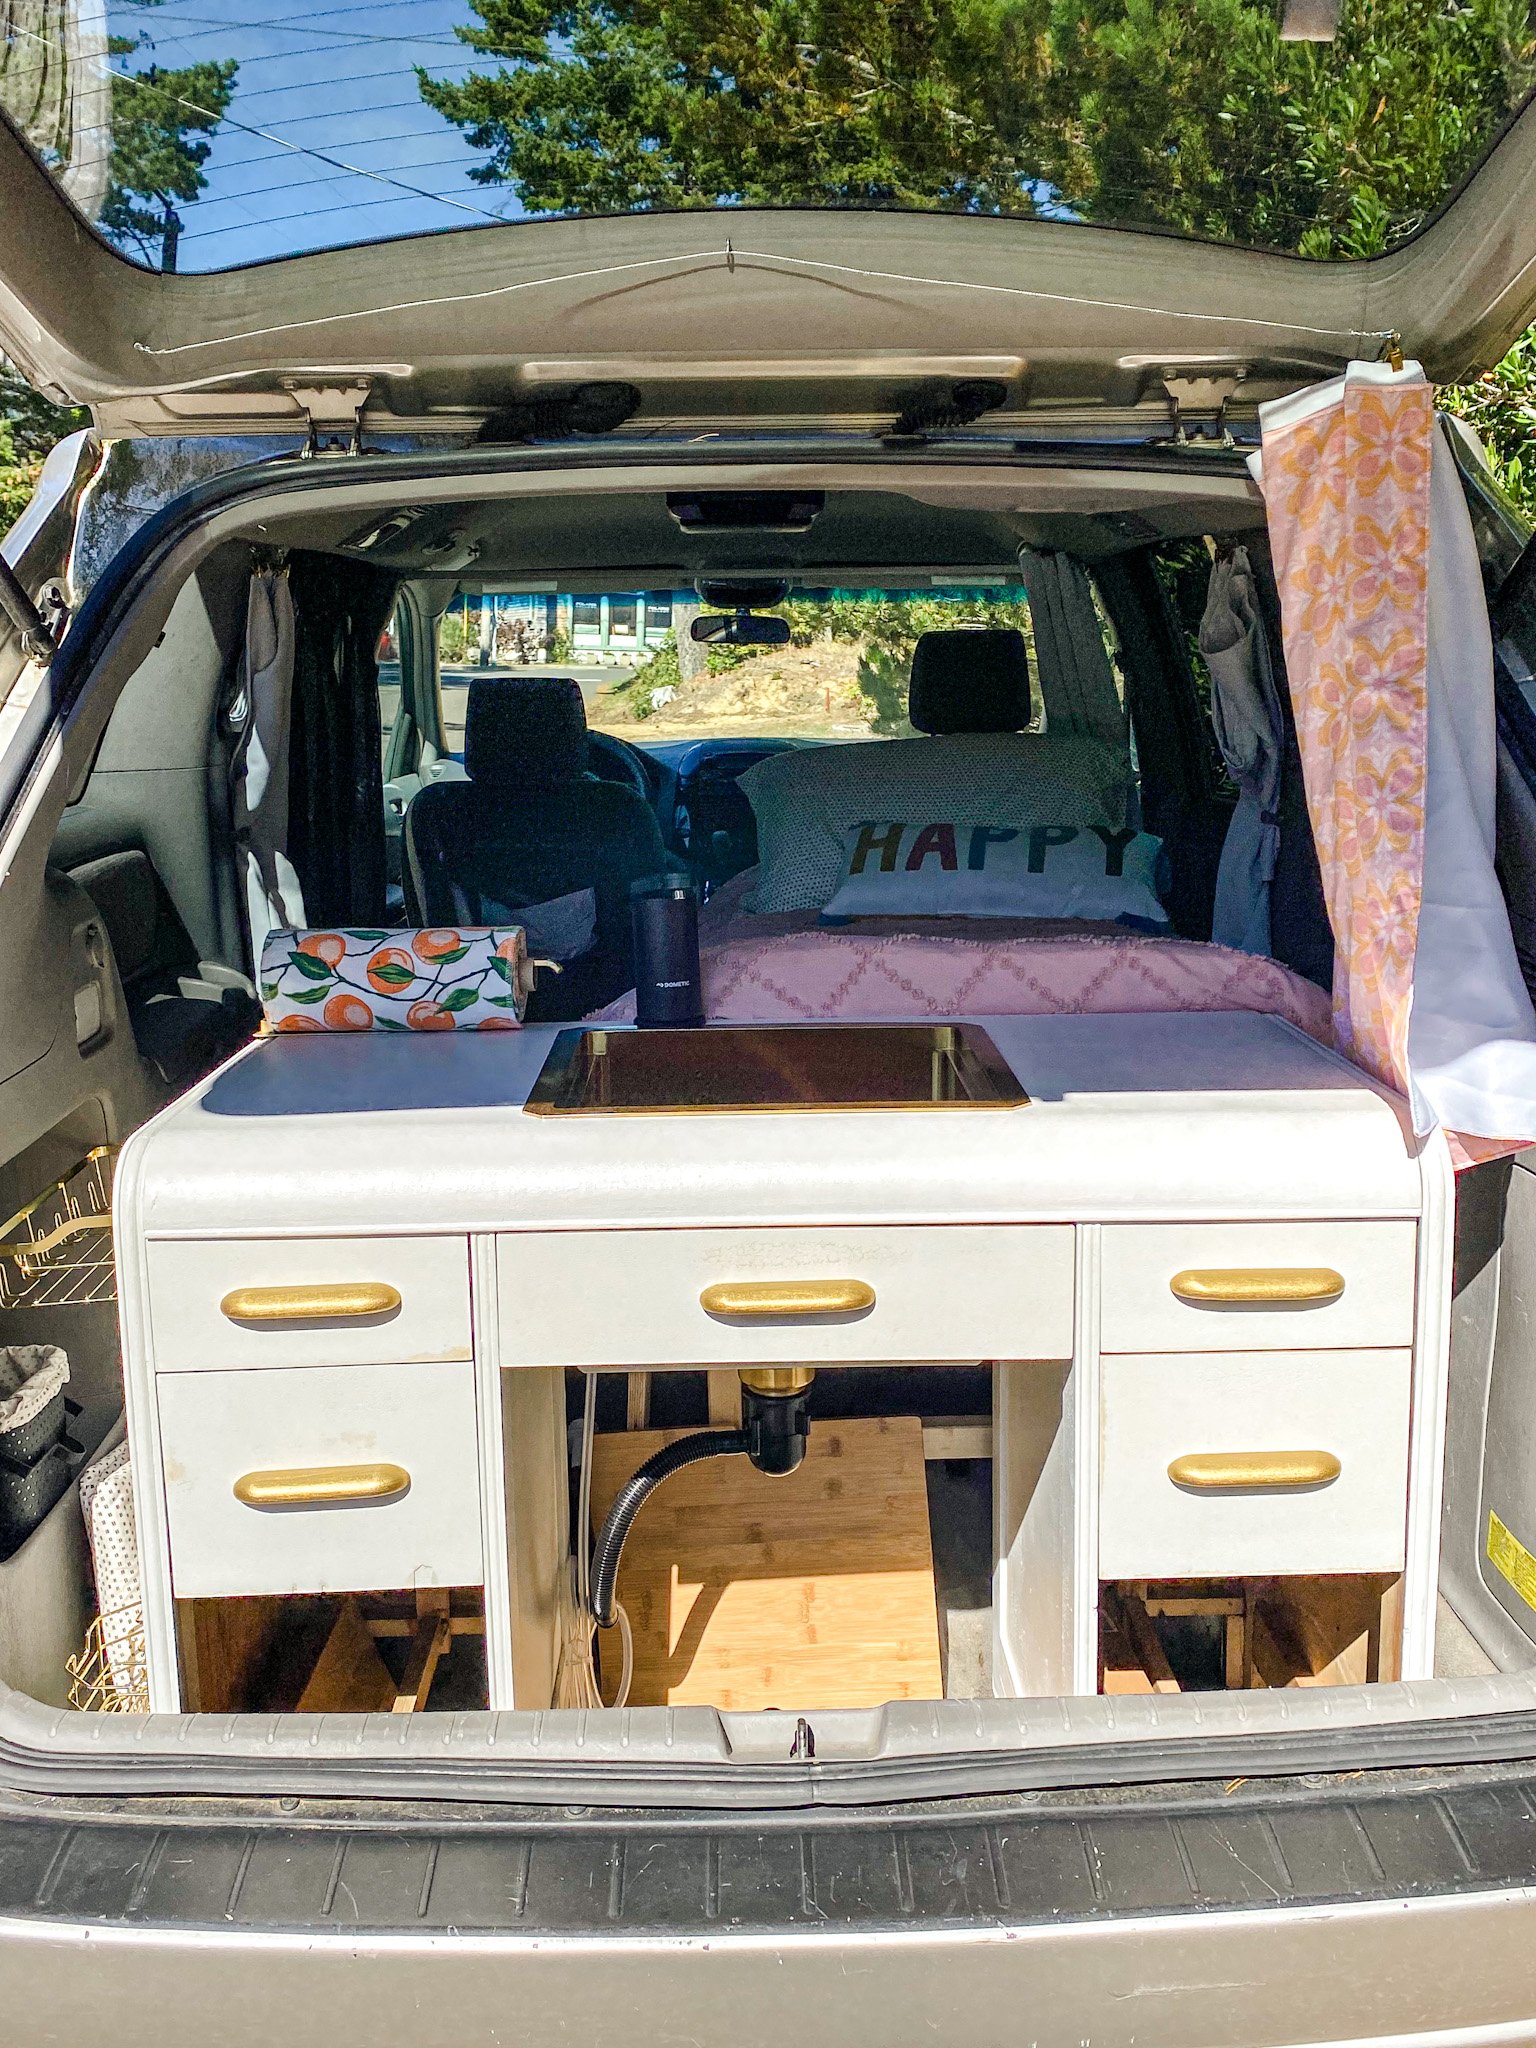
One of the standout finds for this project was a 1940s-era desk, which I got for only $10. It’s not just any desk, though—I’m installing a gold sink into it. Yes, you read that right! A gold sink in a minivan. You’ve got to add a little flair where you can, right? While I love a good bargain, the sink was a splurge, but totally worth it for the vibe we’re going for.
Building the Bed: A Solo Adventure
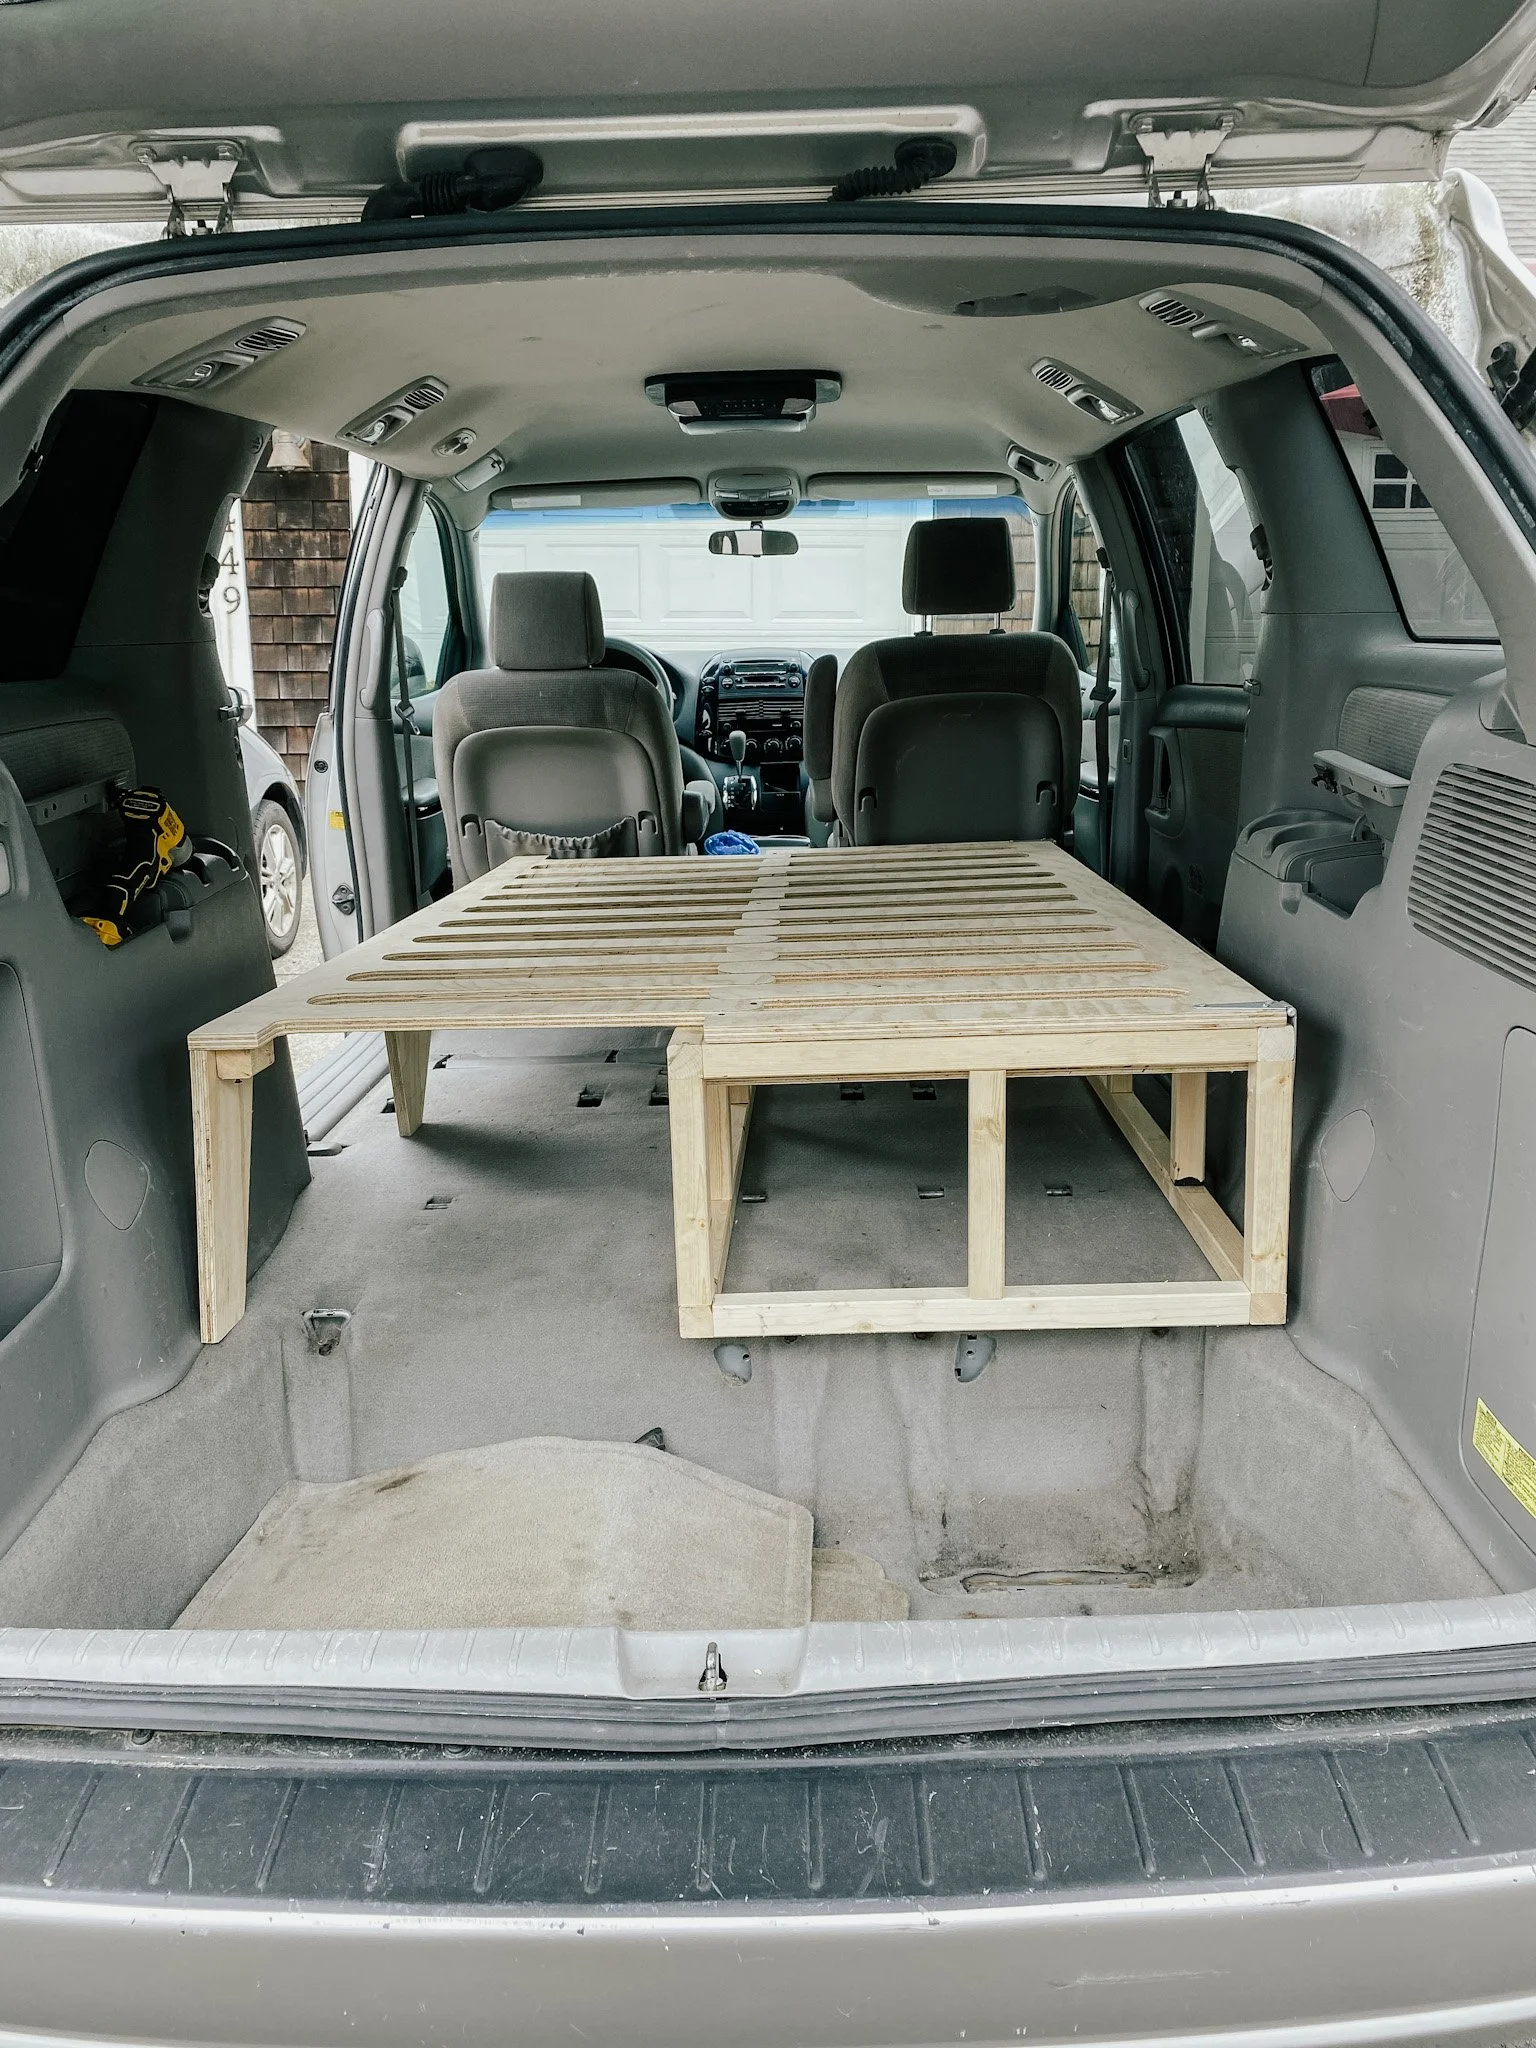
One of the most important aspects of any camper van is the bed, and this was a part of the build I was excited about. While my son, who works at a lumberyard, helped me pick out the wood for the base and platform, the entire build was 100% me—my tools, my hands, and my vision.
I’ve always loved taking on projects like this by myself, and there’s something incredibly empowering about transforming a pile of materials into something functional and beautiful. I’m no master carpenter, but I know my way around a set of power tools! Cutting, drilling, sanding—there’s a special kind of satisfaction that comes from building something with your own hands.


For the bed, I used trifold mattresses that will double as a bench seat when stacked during the day. After measuring (and re-measuring, because let’s be honest, who doesn’t double-check?) I cut the 2x2s for the frame and got to work on the sliding top. I had a few hiccups along the way—like the bed not sliding quite right on my first attempt—but I made the necessary adjustments and by the end of the day, had the whole bench structure in place.
Nothing beats that feeling of accomplishment when you step back and see it all coming together, especially when you’ve done it with your own two hands.
The Crackle Conundrum


Just when I thought I was on a roll, the universe threw a little curveball my way. I decided to paint the desk, but as soon as I started, the paint reacted in the weirdest way. I think it had something to do with nicotine residue from the previous owner. After a whole day of sanding, painting, and praying for smooth results, I had to start over. I grabbed some fresh paint and went back to it the next day.
This time, I used chalk paint, which gave the desk the perfect smooth, matte finish. To top it off, I spray-painted the handles metallic gold. I was a little worried it might be too much bling, but once everything was put together, it was just the right touch of glam.


Bringing It All Together
By the time I reached the finishing touches of this project, I felt like I’d hit my stride. I tackled the final adjustments on the bed’s sliding mechanism (hello, skill saw), which was a bit tricky but well worth the effort. I also added some angled plywood pieces and reinforced the bed frame with 2x2s. Trust me, this bed isn’t going anywhere.
Next up was the kitchen! I installed the gold sink—by myself, no less! I didn’t have time to snap photos because my hands were busy (I only have two for dropping the sink into place). I chose a Dometic power faucet that charges via USB and pumps water with a single button. How cool is that? I also installed a grey water jug for drainage, keeping everything simple and functional.
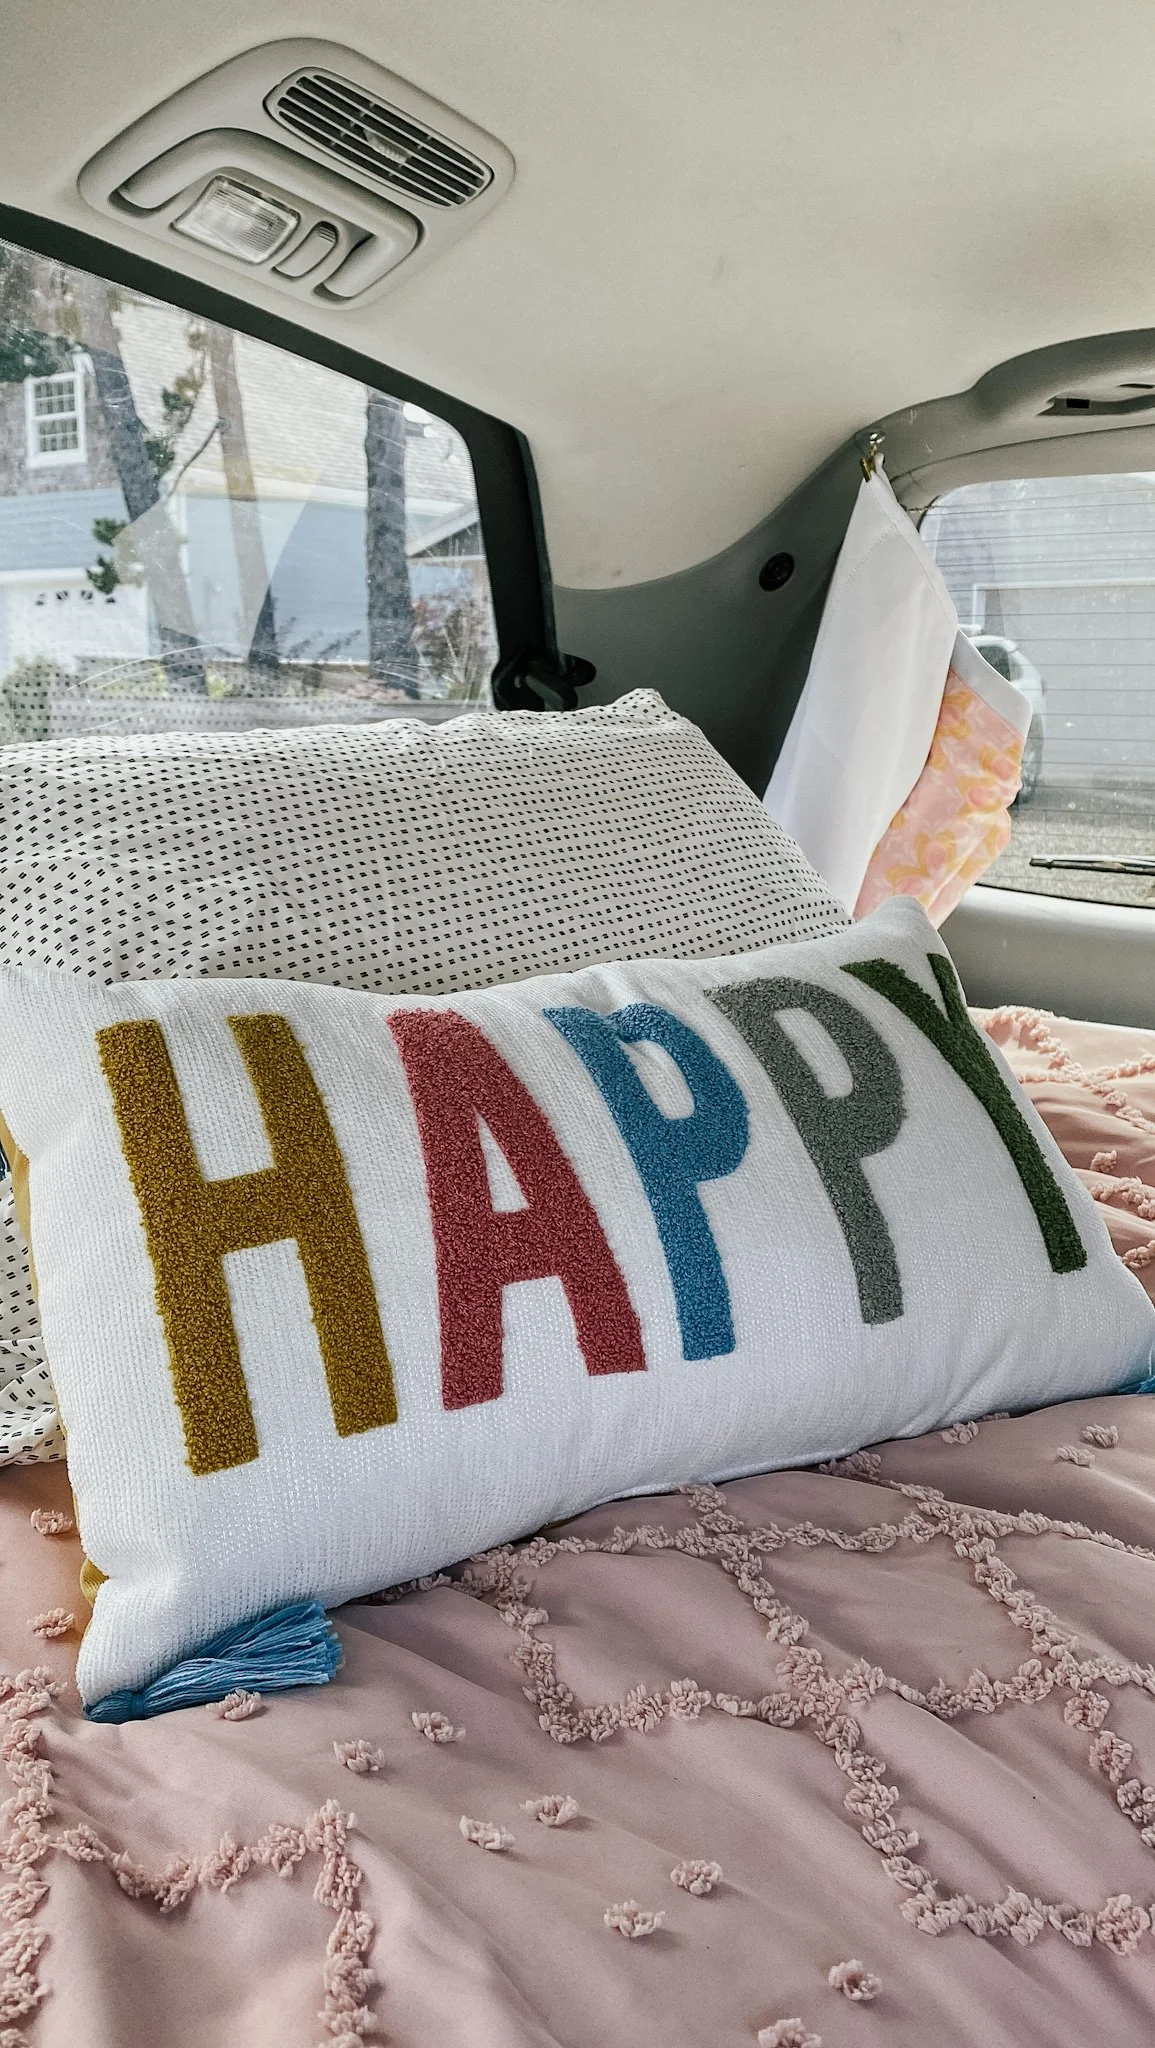
For some added personality, I created a custom fabric pattern, printed it through Spoonflower, and used it to cover our blackout curtains. Yes, it’s pink and a bit girly, but my husband is on board, and he looks great in pink, too.
Final Touches and Future Plans
To round things out, I installed a magnetic screen over one of the van windows, perfect for letting in fresh air while keeping bugs out. Air circulation is going to be key as we head out on adventures—nobody wants to camp in a stuffy van!
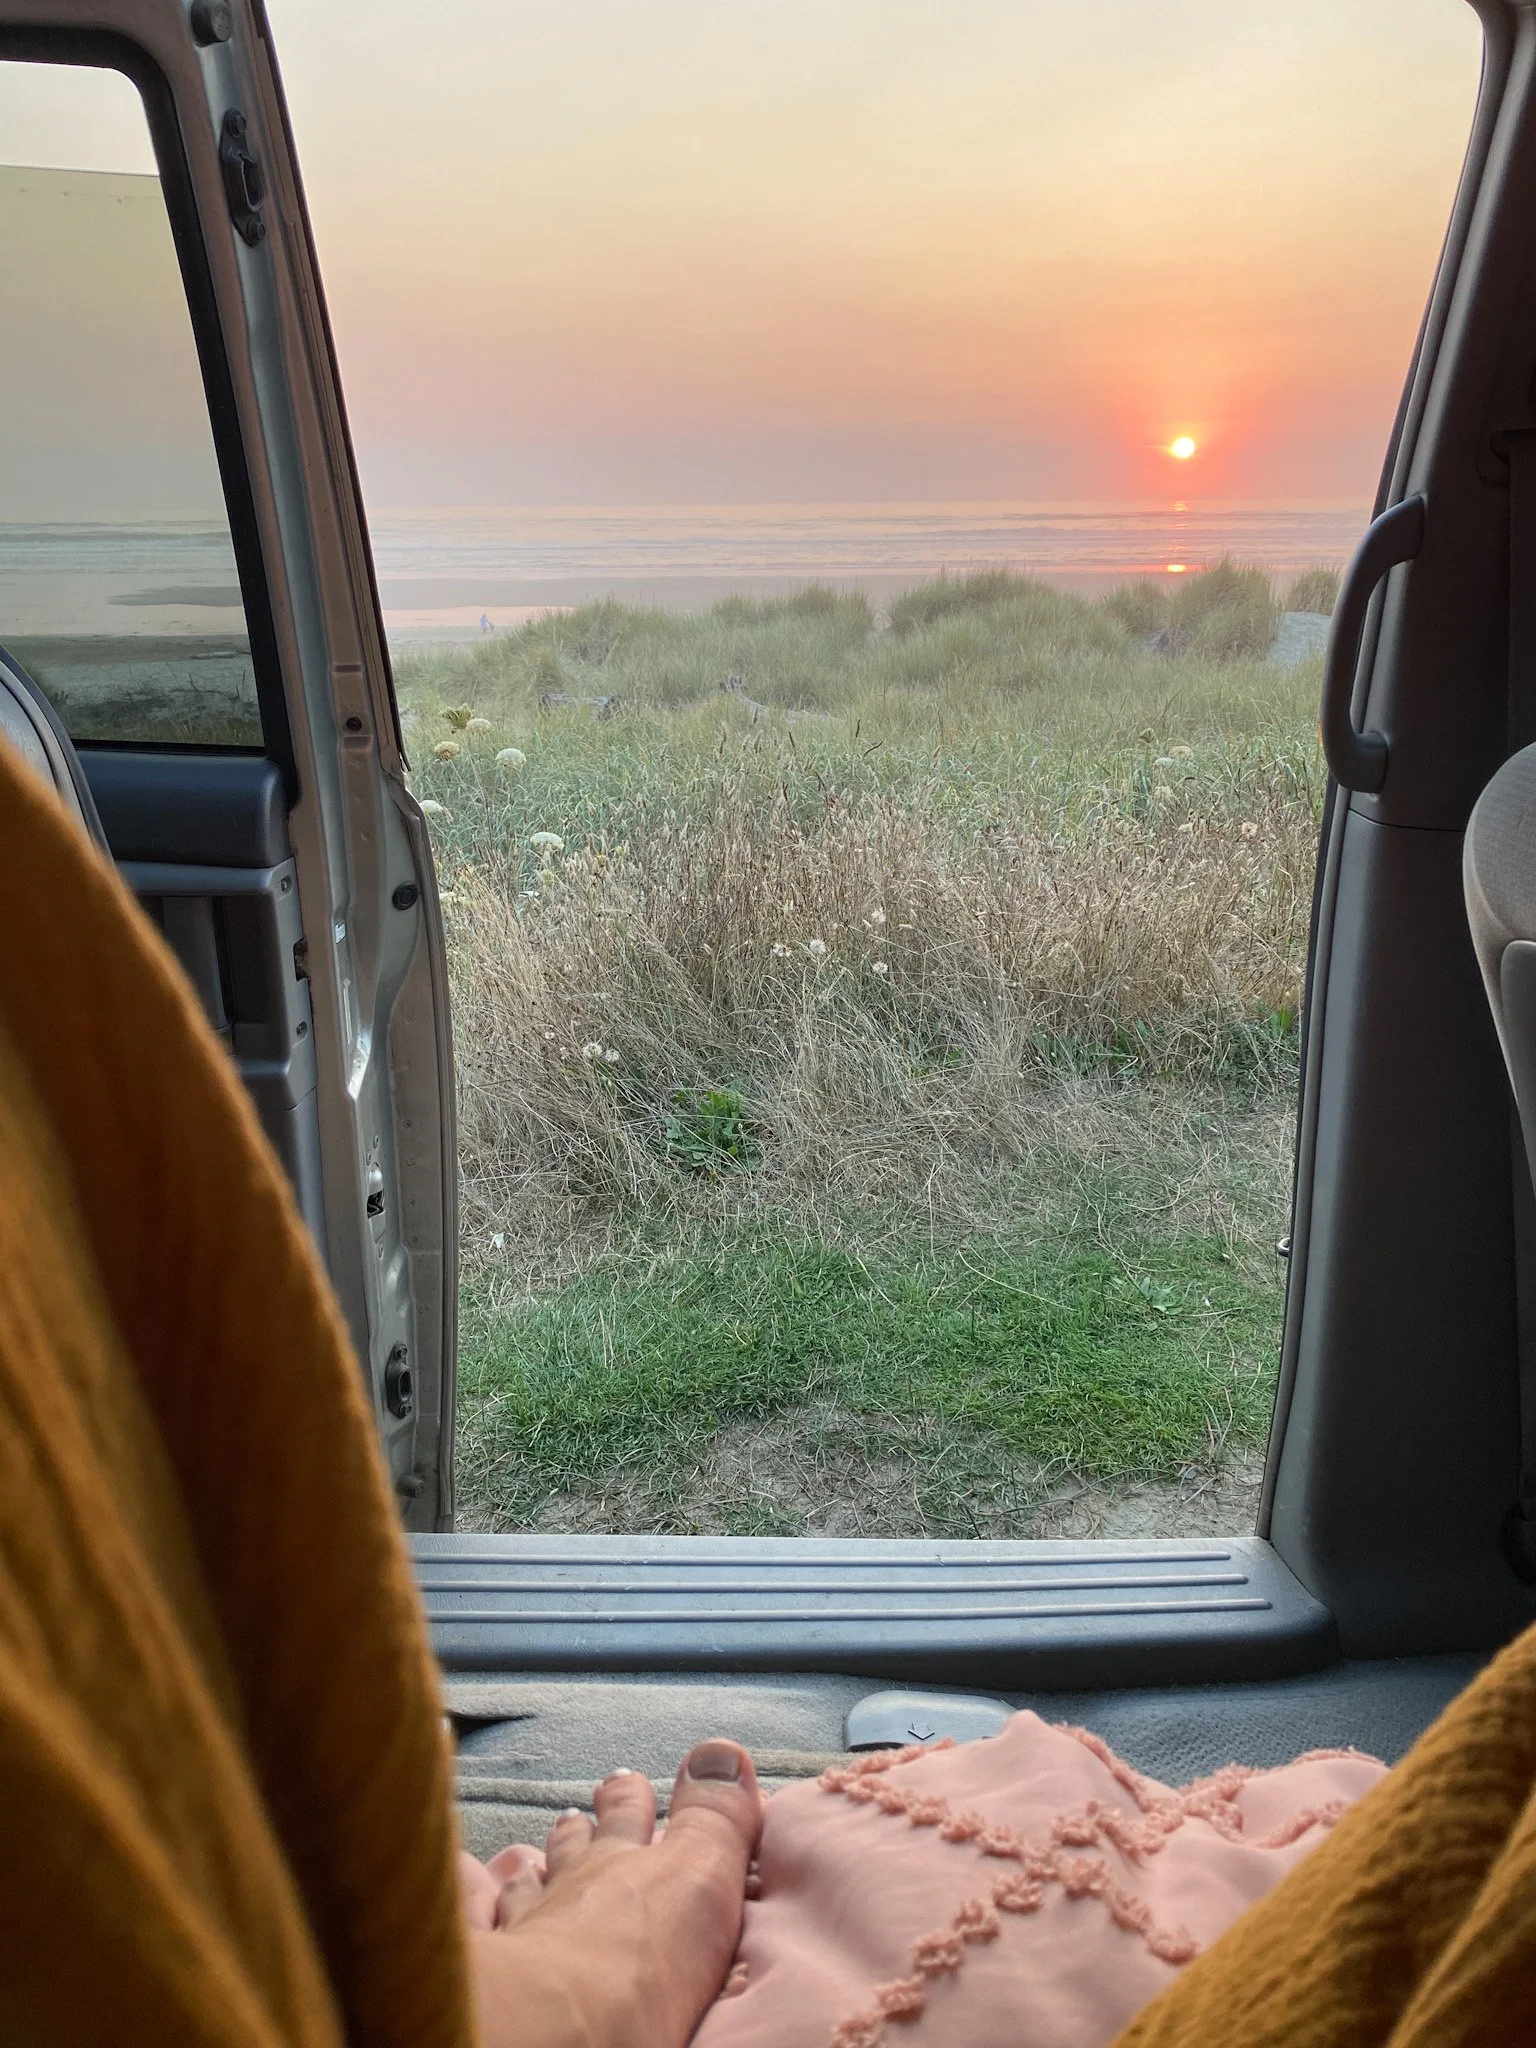
While it’s not 100% done yet, the van is livable, camp-able, and totally workable. I can’t wait to take it to the beach this winter and work on my iPad, soaking up fresh air while staying cozy inside.
The Pinched Nerve and Health Update
Now, here's where life threw me a curveball. After 5 days of hard work and building, I pinched a nerve in my back while cutting plywood. And let me tell you, this has been no joke. Today is the first day in three weeks that I’m finally seeing some relief after numerous doctor appointments, meds, acupuncture, chiropractic sessions, and lots of rest. My back has been a constant reminder to listen to my body and take breaks (something I’m still learning). This injury has slowed me down, but it’s also forced me to take better care of myself.
October also marks the beginning of Breast Cancer Awareness Month, which holds personal significance for me. In just three more weeks, I’ll be undergoing breast revision surgery, a decision I made three years ago but am only now able to move forward with. It’s been a long journey, but I’ve come to realize that when my body calls for attention, it’s often in the midst of life’s big moments. I’ve learned to lean into that and take the time I need to heal.
As a result, I’ll be stepping back from my usual online presence, classes, and emails to focus on recovery. I hope you understand the quiet that will come from me during this time, but I promise I’ll be back once I’m healed.
How You Can Support Me During This Time
I truly appreciate everyone who’s been following along with my van conversion and everything else going on in my life. If you want to support me during this downtime, I’d love for you to check out my classes, brush sets, or tutorials on Perch Handmade. You can also take my classes on Skillshare. Your support means the world to me, especially during times like these.
I’ll keep you posted on my progress (and more van videos!) and can’t wait to share my future art sessions in the van. Until then, thank you for sticking with me, and please take care of yourselves—your body always knows what it needs, even when we’re too busy to listen.
Read more on Affiliate Links HERE.Hi, I’m Katie and this is
Perch Handmade.
I’m a digital artist and teacher offering you a look into my creative adventure. Enjoy the ride!
I may receive commissions from purchases made through links in this article. I wouldn't promote them if I didn't believe in them wholeheartedly!
(At no additional cost to you)


